
Apple boxes are very important to the portrait sessions that happen in my studio. They are little pine boxes (usually), that come in many shapes and sizes, so that you can prop things on them, pose people with them for a staggering effect, or for me to stand on in order to always be at eye level with the face in my field of vision.
I stated liking the look of seeing the boxes in my photos, it made it look a little rustic and behind the scenes, without compromising the feel of the image. My only problem, is that they just seemed so light coloured and brand new. I had been meaning to stain them for quite sometime, but just hadn’t been able to get around to it. One day, I just decided to get started, and it turned out to be surprisingly quick and easy.
My goal was to make the boxes look like they had been painted 20 years ago, I didn’t want them to look too perfect. I am not an artist, and I don’t claim to be a professional wood stainer, but I wanted to share my steps below just to show how easy it was. Now, I can’t get enough of seeing little bits of the boxes in my images. The only thing that I still have to do, as suggested by my cyber friend Violet (artist at Oliphant Studios, where I purchased my backdrops last year), is to splash/drip/drop paint on them. I still plan to do that at some point this Spring, when I can get crazy with the paint outside.
I purchased my brushes, stain and sand paper at Home Depot, and the rest of the items I just had around the house. I had no idea what I was doing, but my plan just made sense to me. I also did my best at taking pictures of the process, while staining, taking off a glove, or setting the camera on the tripod with automatic timer. This in itself was quite entertaining for the flies on the wall. Thankfully, Vatican came home from school towards the end, and snapped the last couple behind-the-scenes shots for me.
If you have any questions for me, or if I left something out, feel free to send me an email nicole@lapierrephotography.com.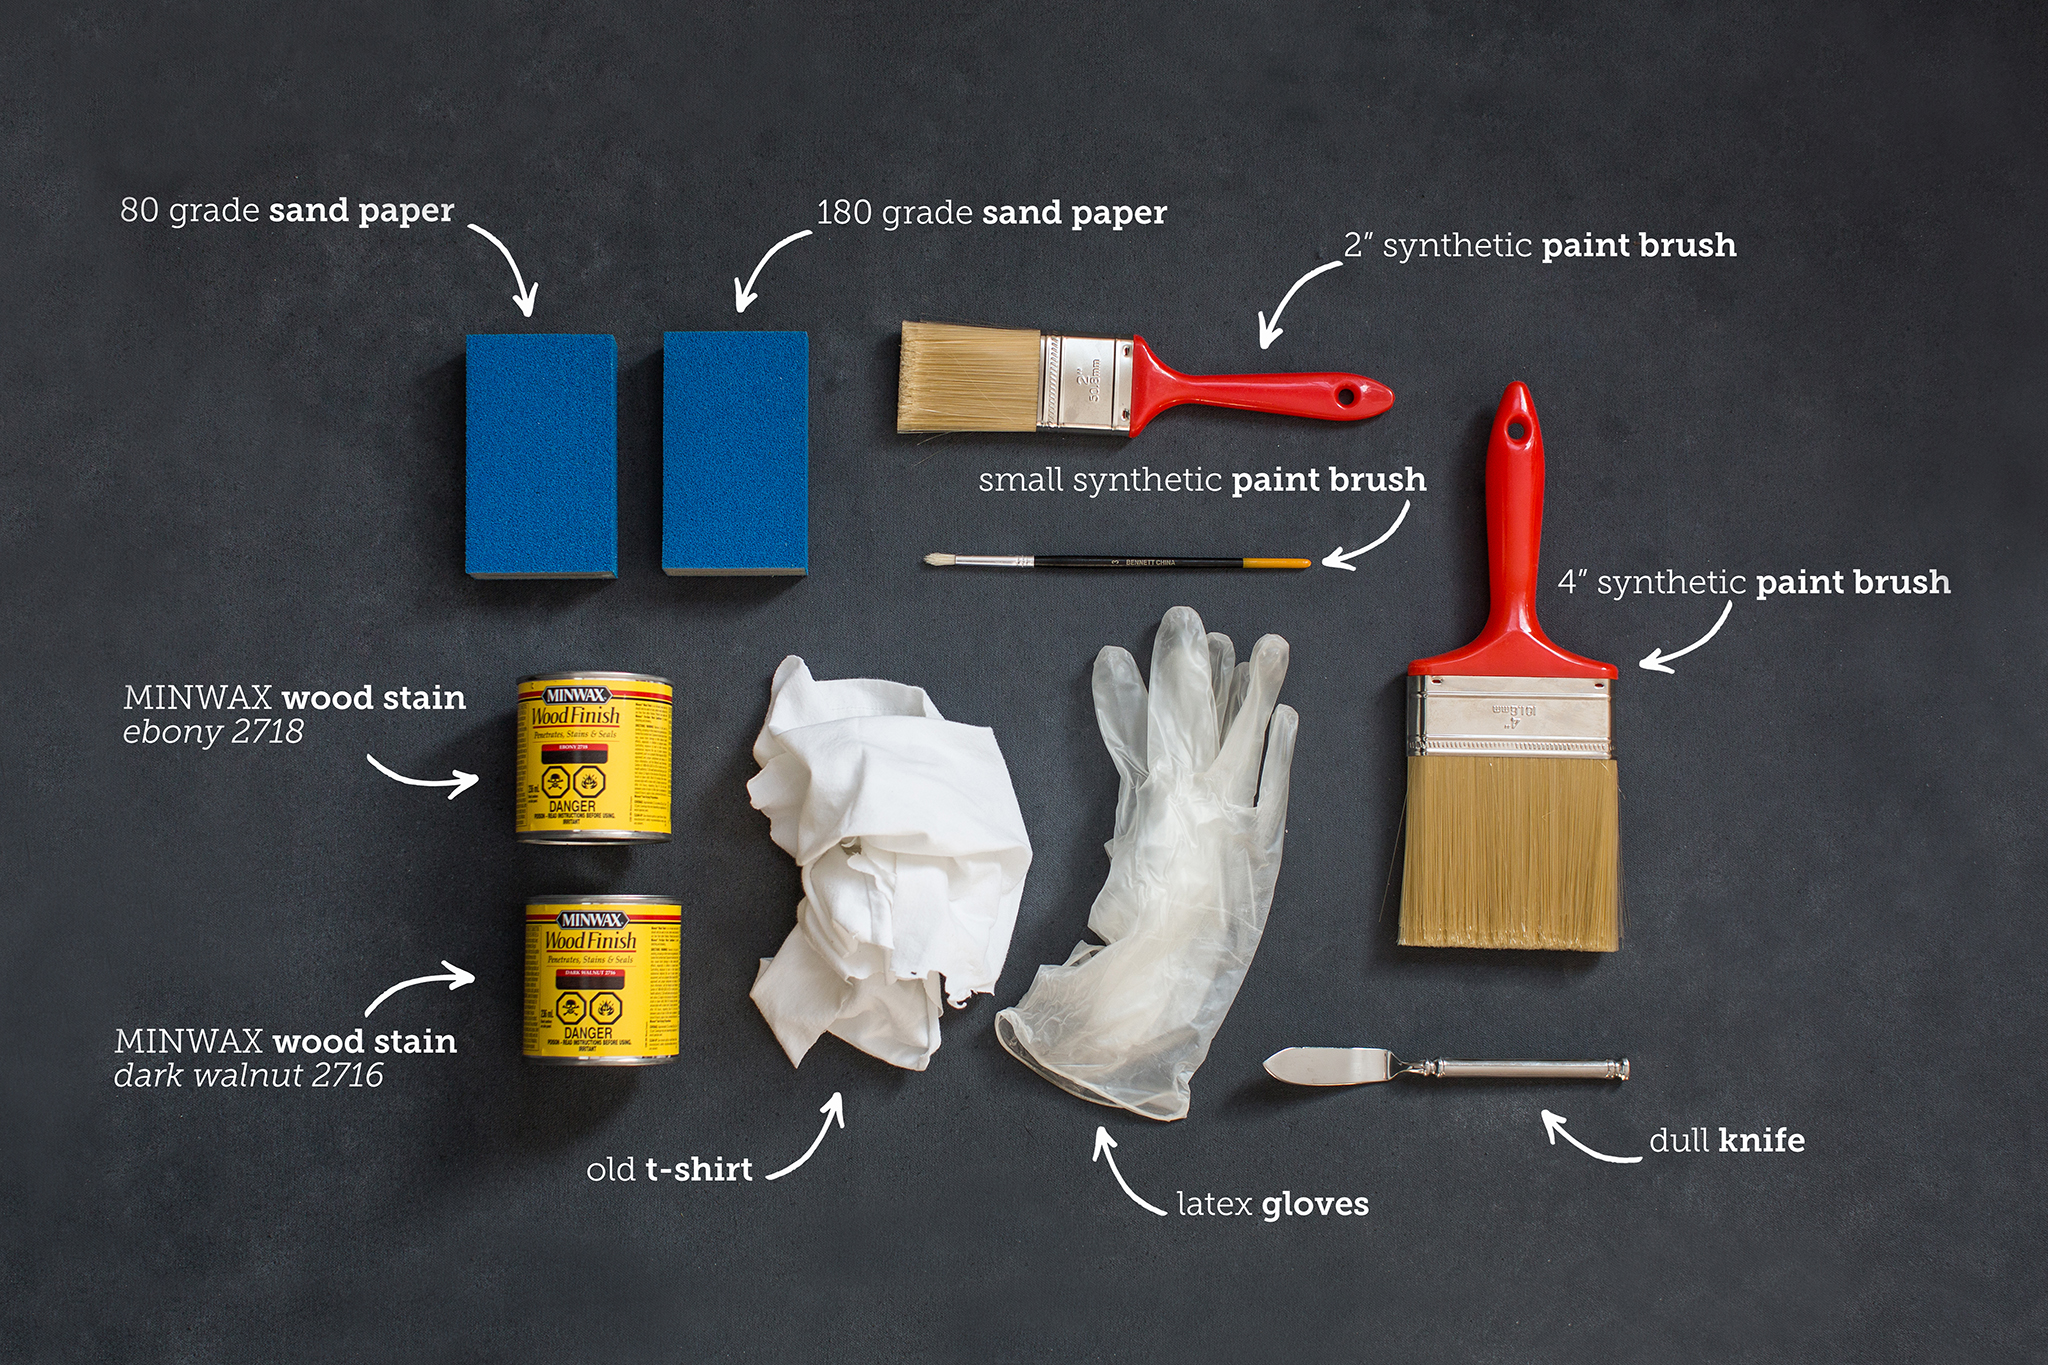
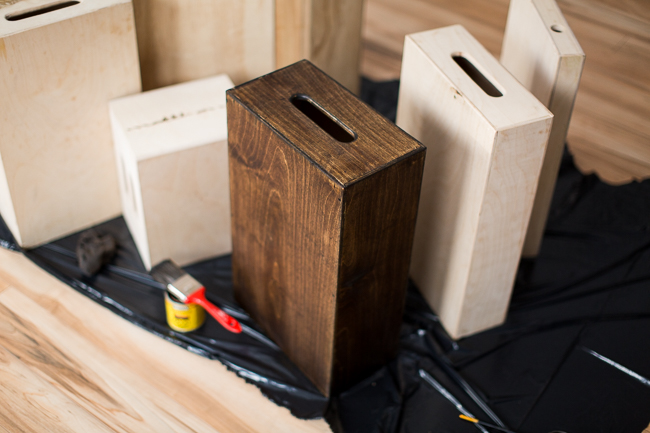
I cut open a black garbage bag and laid it down, then I put all of my pine apple boxes on it to get ready.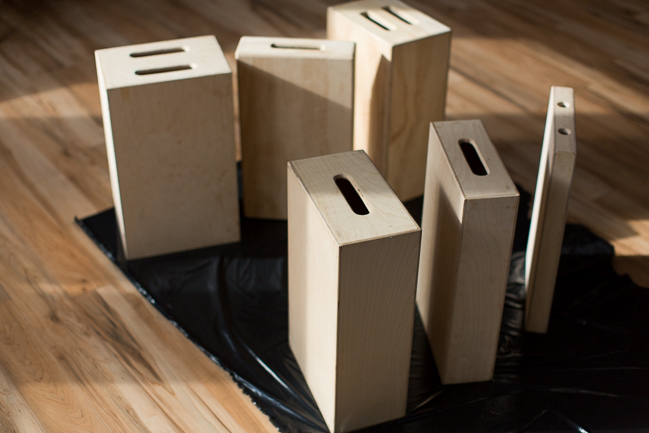
I then used the 180 grade (finer) sand paper to smooth out any splintery bits, and then moved to the 80 grade (less fine) sand paper to rough up the sides and edged so that when the stain soaked in, it would look weathered.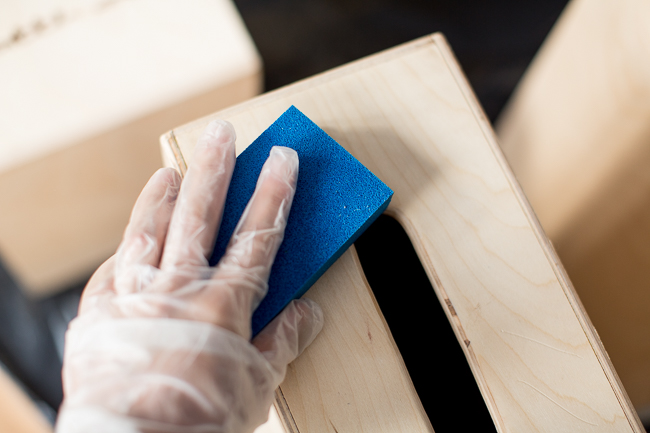
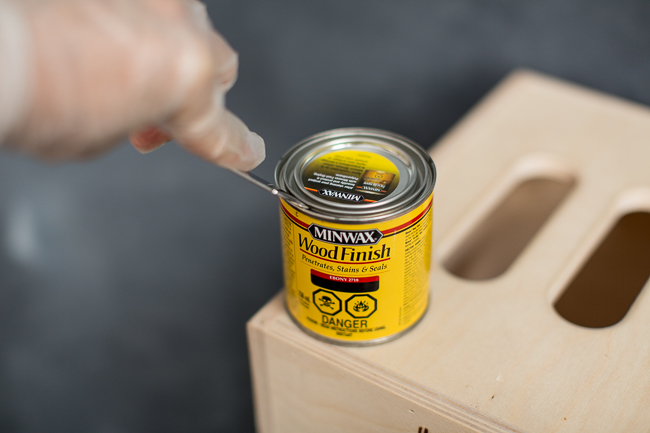
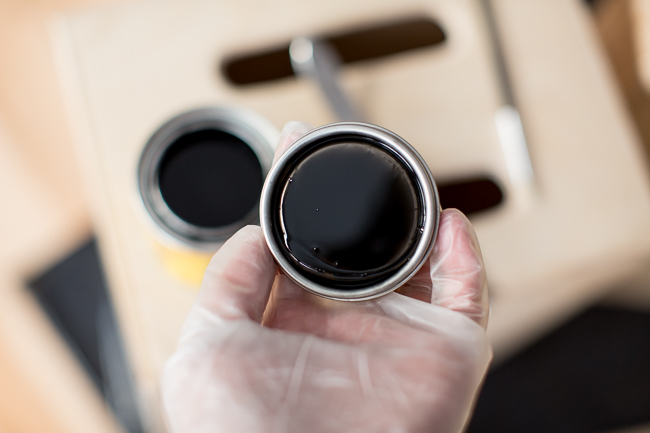
I started with the MINWAX wood stain in Ebony 2718, gave it a shake, then used the cheese knife to wedge the lid open.
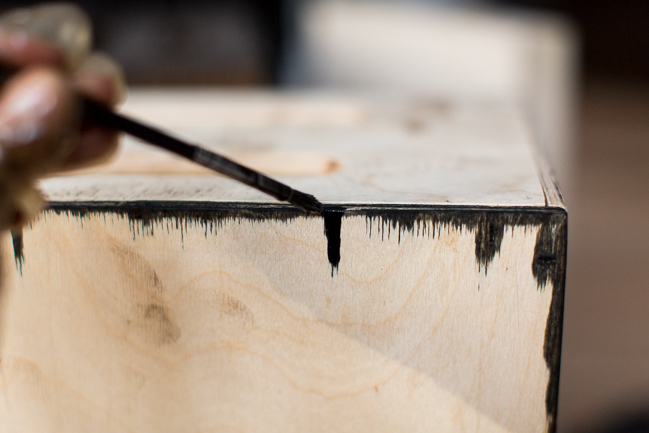
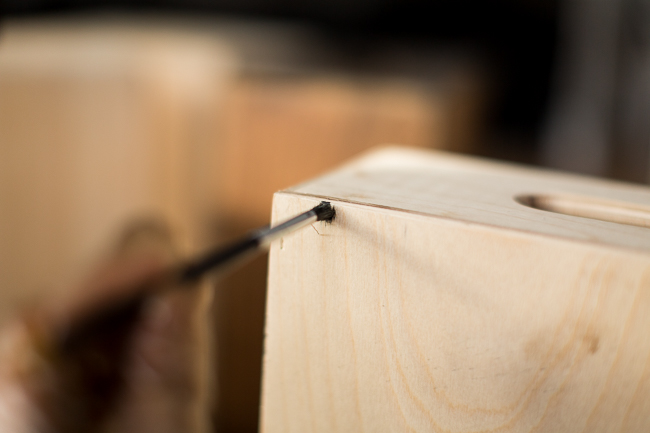
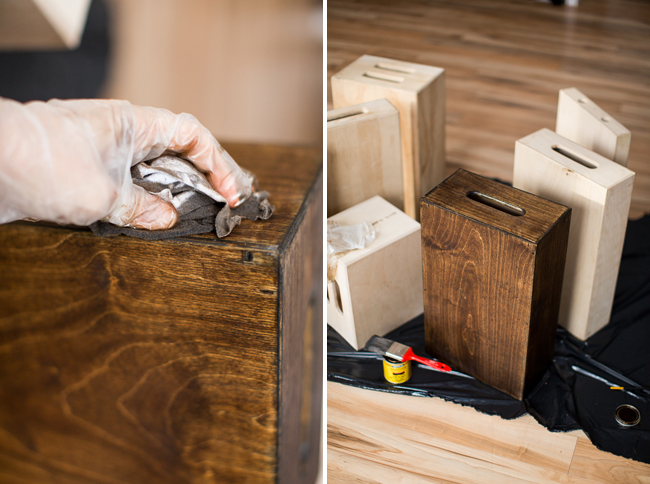
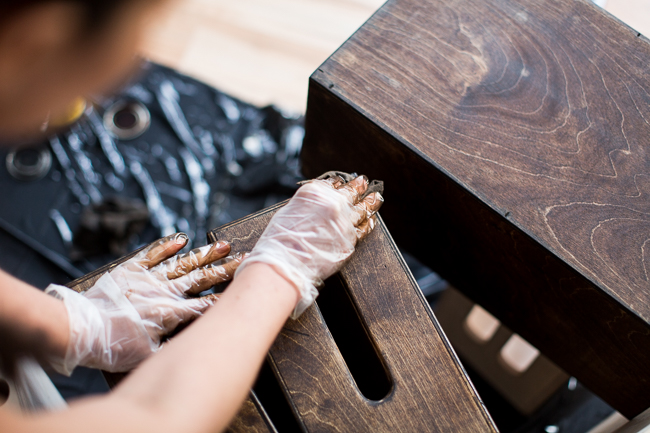
I started with the small synthetic paint brush in the ebony stain and liberally applied the stain to all of the edges and nail holes of the boxes. I would let the stain drip and soak into the edges and down the sides of the boxes when it wanted to do that. I thought that this would “antique” the edged a little more, and give them the aged look that I wanted, but I was flying blind at this point.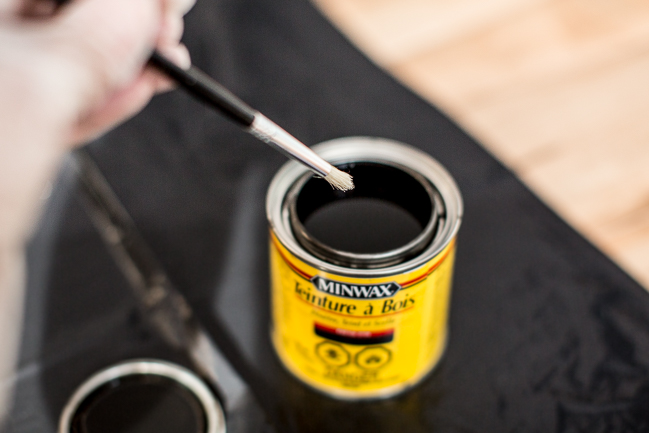
I then moved on to the MINWAX wood stain in Dark Walnut 2716, gave that one a shake, and again used the cheese knife to wedge the lid open.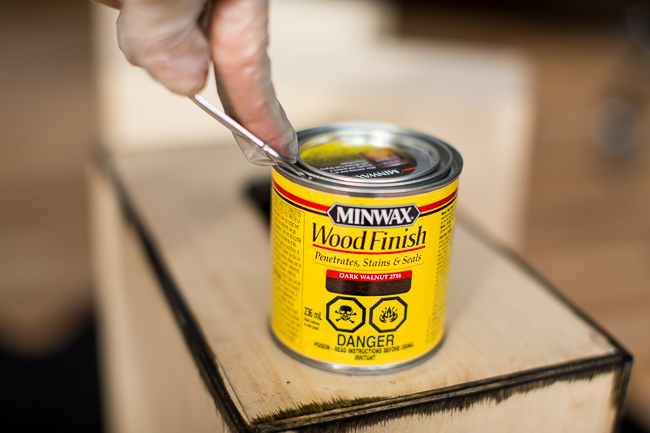
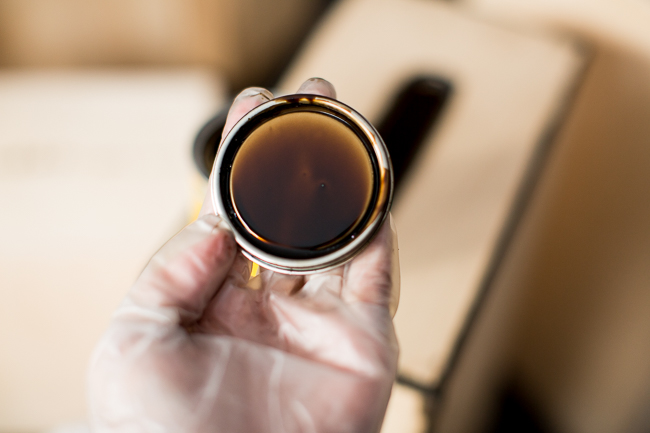
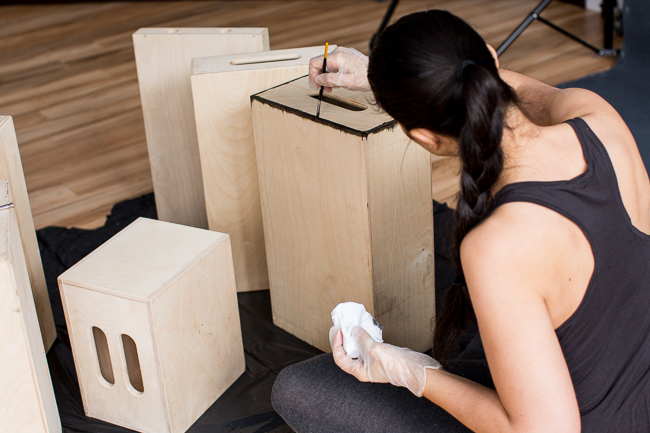
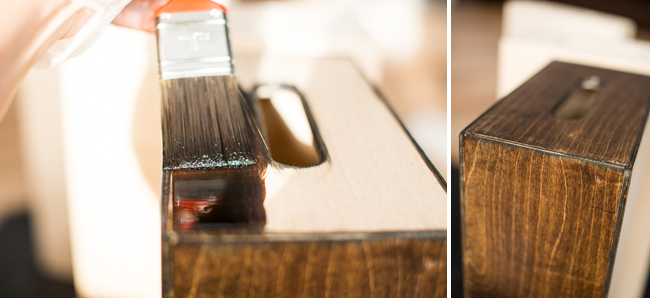
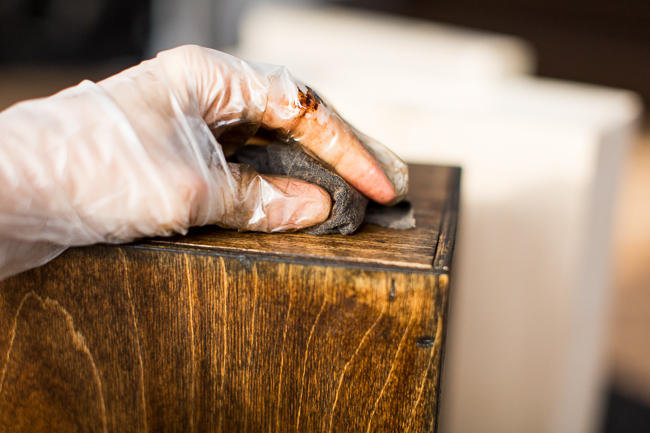
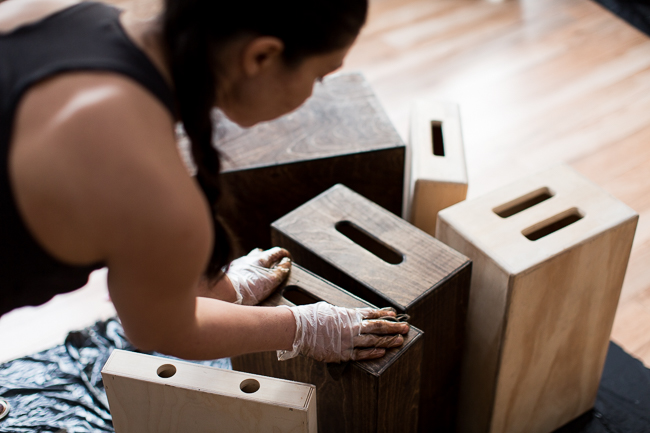
I then applied this lighter stain on all sides of each apple box with both the 2″ synthetic stain brush (on smaller boxes) and 4″ synthetic stain brush (on larger boxes), and in between a few brush strokes, I used my old t-shirt rags to rub the stain into the wood grain, and wipe it off in spots where I wanted it to be lighter. This is where personal preference would come in, I wanted an uneven application on the boxes, so I sometimes went over certain areas more than others in order to achieve this.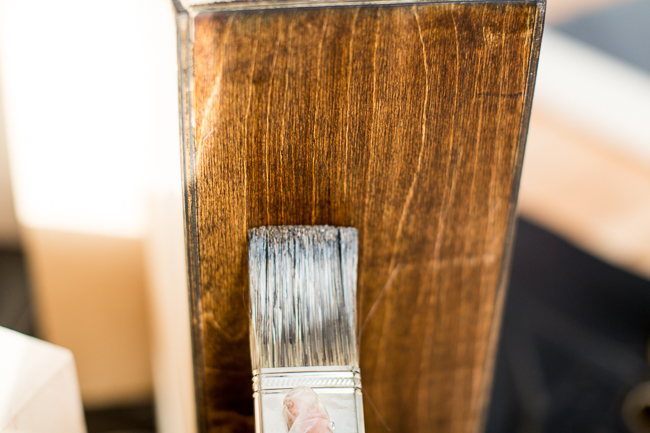
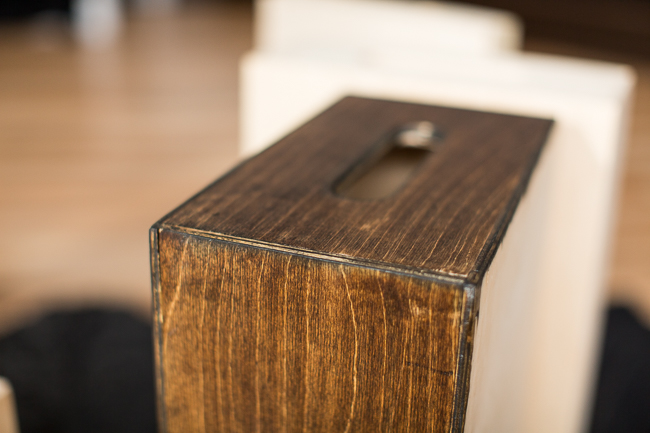

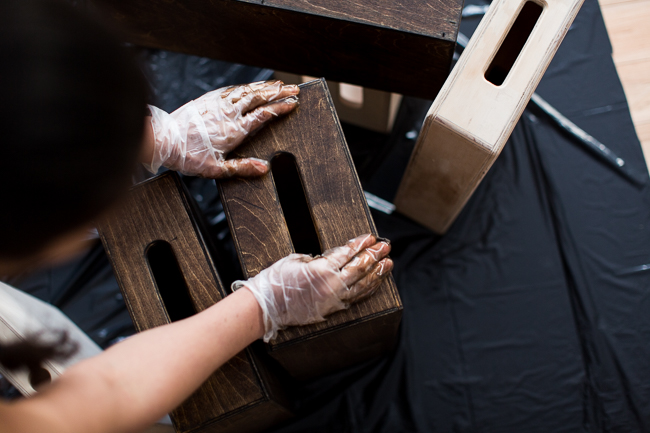
Once I had each box stained, I then went back over the edges again with the ebony stain and small paint brush, just to really give the edges depth.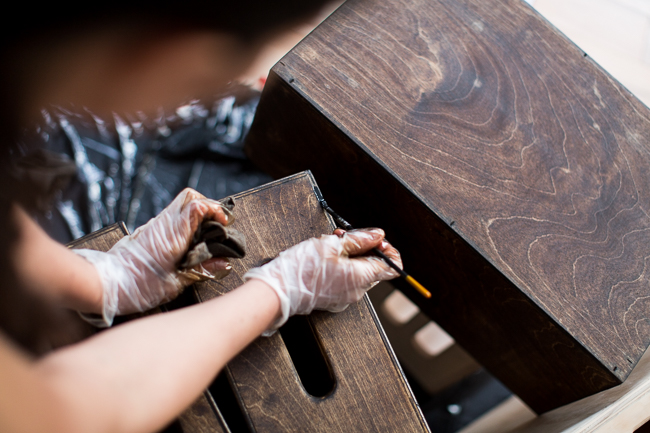
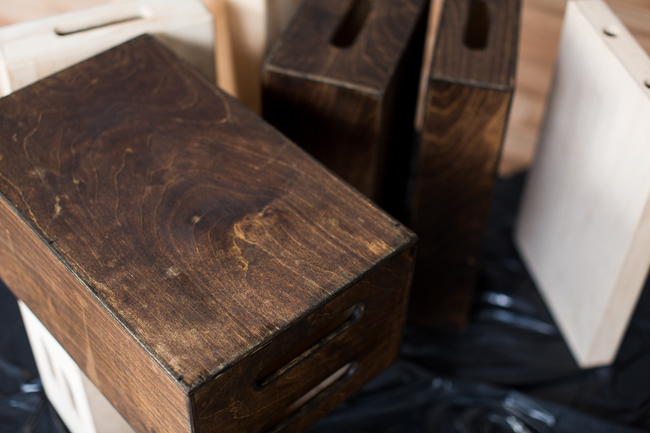
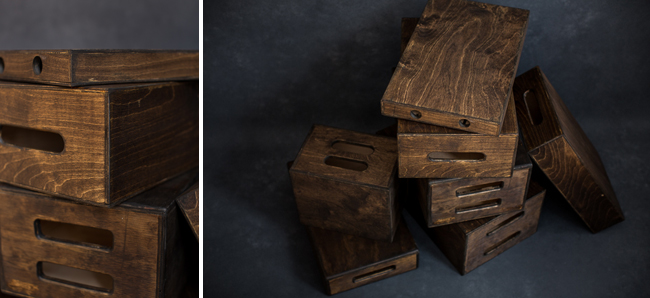
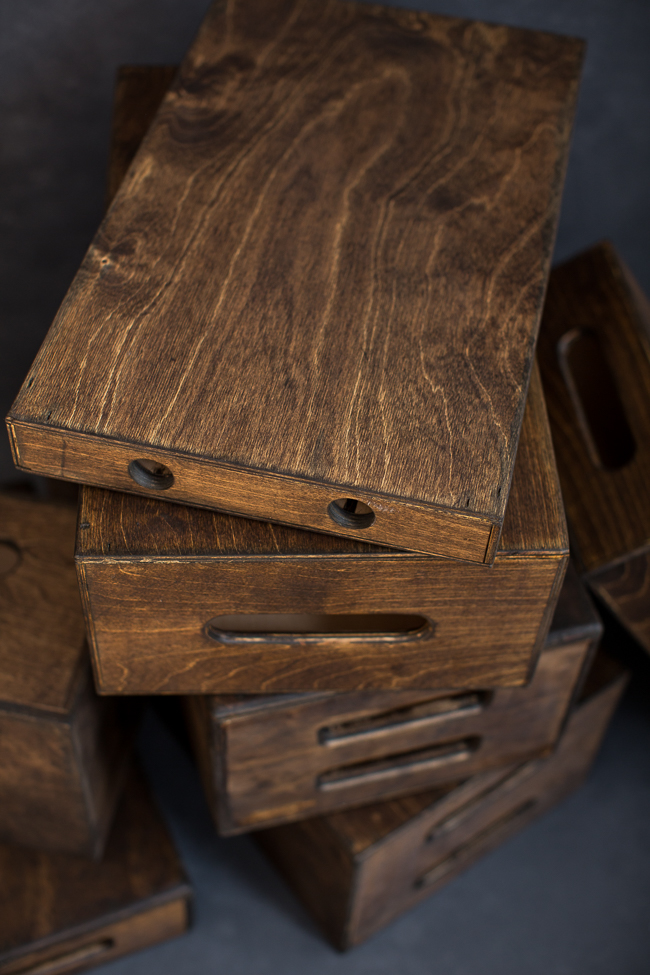
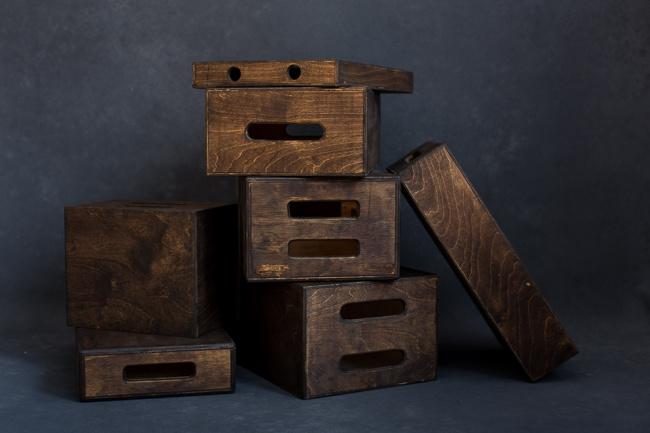
All finished, and pretty happy with the outcome…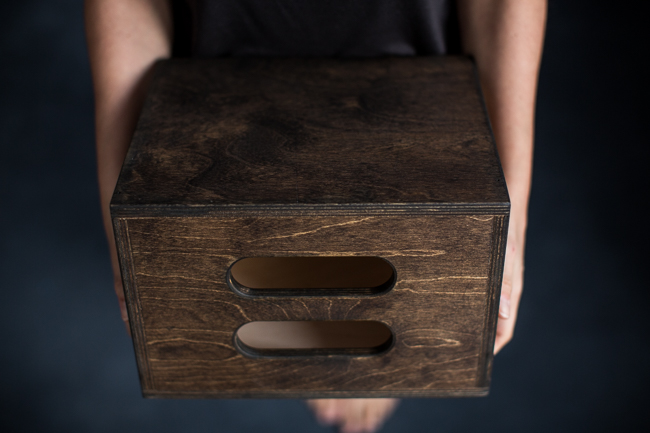
Wow Nicole they look great. U should teach a class. I have a group of 6 that would be interested. They look great
These look incredible!!! The finish on them is beautiful!
Thank you! What a great idea!
thanks for the post! I will try on my apple boxes, they have been waiting for me for so long! I wanted them to look like yours, they are great.